Lunar Diplomacy takes you on an adventure involving the strife between the Moon Clan and the Fremennik. You’ll gain a number of rewards upon completing the quest, including anytime access to the Lunar Isle and a new spell book!
Quest Requirements
First, you’ll need to get the following skill levels to proceed. 5 Herblore, 40 Defense, 49 Fire Making, 55 Woodcutting, 60 Mining, 61 Crafting, and 65 Magic. You’ll also need enough combat stats to kill several level 111 beasts, along with access to Air, Water, Earth, and Fire Altars.
You can only begin the quest after completing the following quests. Druidic Ritual, Jungle Potion, Rune Mysteries, Lost City, Shilo Village, and The Fremennik Trials.
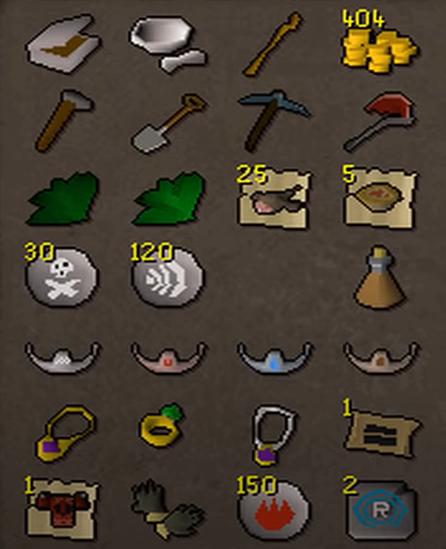
Moving to the items required, you’ll need the following. Hammer, Pestle & Mortar, Marrentill, Gaum Leaf, 1,000 OSRS Gold, Tinderbox, Needle, Axe, Pickaxe, Space, 2x Spools of Thread, Swamp Tar, Dramen Staff, 4 Elemental Talismans/Tiaras (Air | Water | Earth | Fire), and Combat Gear.
Walkthrough
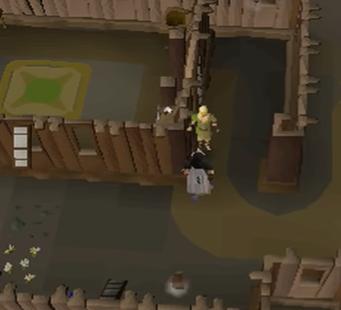
Start the quest by taking your Tinderbox to Rellekka and speaking to the NPC named Lokar Searunner. You can find him wandering on the western docks. He’ll tell you all there is to know about the Moon Clan.
Next, head to the Longhall and speak to Brundt the Chieftain, who’ll give you a Seal of Passage. Keep this item on you at all times until the end. Now, head back to Lokar to sail to the Pirates’ Cove.
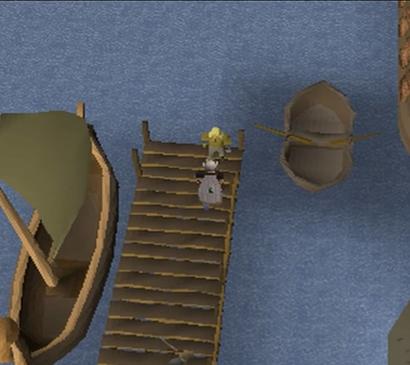
The Ship

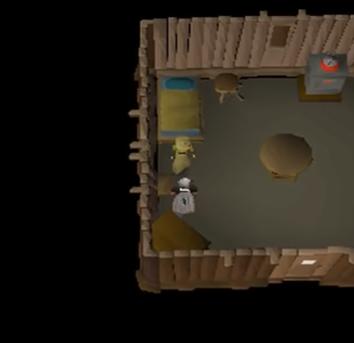
Here, you’ll find a naval vessel called Lazy Zay. You need to get onto it and speak to Captain Bentley Be aware of Pirates and Moss Giants wandering around as they’ll attack you. As the ship begins sailing, head to the lower deck and speak to Birds-Eye Jack.
There’s a lot of back and forth here. Go back to the captain now, and then back to Jack. Finally, back again and Bentley will ask you to speak to the other crew members on the ship.
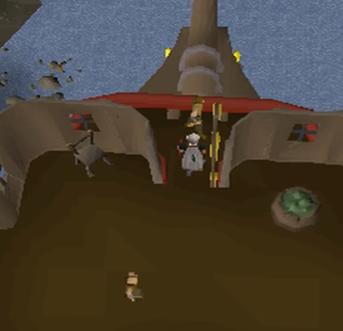
On the same deck, you’ll find Eagle-Eye Schultz. Speak to him and he’ll give you more info on the Jinxes. Next, go one deck up to speak to the Cabin Boy, followed by Beefy Burns on the bottom deck.
Speak to Lecherous Lee who can be found on the same deck as the Cabin Boy, and then head back to the captain’s deck to speak to First Mate Davey-Boy. Finally, speak to the Cabin Boy once again to put the stories together.
The 5 Symbols
Now, light your Emerald Lantern using a Tinderbox. Grab Swamp Tar from the bottom deck (if you don’t already have it) and start wiping away the 5 symbols.
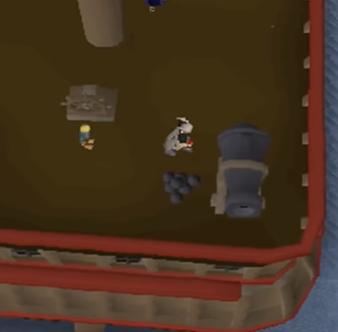
The first is on the cannon east of the Cabin Boy. The second is on a wall chart northeast (Captain’s Deck). The third is near the stairs on the bottom deck. The fourth is near the cook on a create (same deck). And, the fifth is on a support column (same deck).
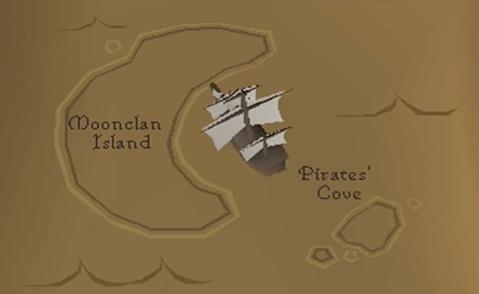
Once you have all the symbols, speak to the Bentley and set sail for the Moon Clan Island. Head southwest of the island to speak to Meteora, who will ask you to visit the Oneiromancer for further help.
The Potion
The Oneiromancer is by the Astral Altar. He’ll ask you to collect a number of items in an order. First on the list is the Waking Sleep Potion. For this, you’ll need Marrentill, Guam Leaf, Suqah Tooth, and Pestle & Mortar. For the bottle, speak to Baba Yaga in the village (chicken house).
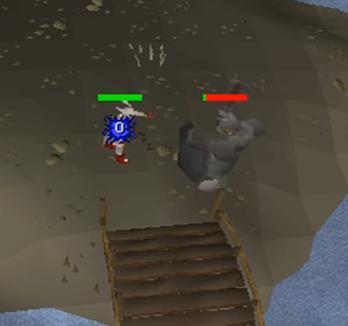
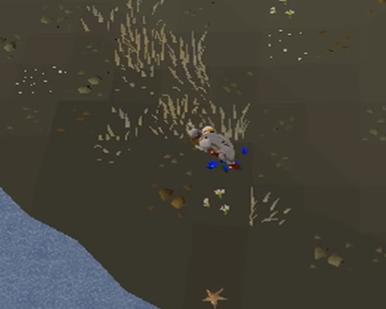
Start by filling the vial with water, and then head southeast to kill a Suqah for its tooth. Take its hide too as you’ll need it later. Use the tooth on a Pestle & Mortar and then add all the items into the vial. Finally, take the potion to the Oneiromancer.
Lunar Staff

Grab your Dramen Staff along with the 4 Elemental Talismans/Tiaras. Take the staff to each of the four Elemental Altars and use it in the following order: Air, Fire, Water, and Earth. You won’t be able to wield the Lunar Staff without Ceremonial Clothes. So, that’s pretty much the next part.
Ceremonial Clothes
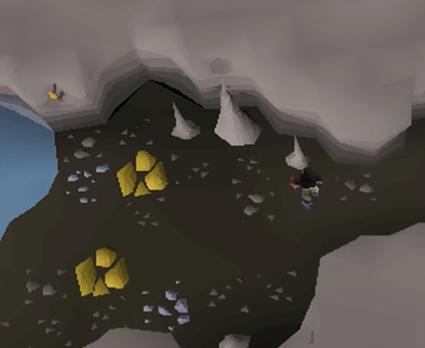
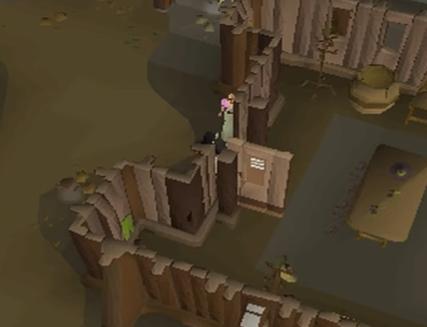
For the helm, travel to the northeastern part of the dungeon on the island. Mine a Lunar Ore using a Pickaxe, and then take it to the furnace area in Rellekka to smith it using a Hammer.
For the Cape, head northwest of the village and speak to Pauline Polaris. She’ll give it to you if you guess her name right. The first guess will be Pauline, and then she’ll give you a clue. Choose Jane Blud-Hagic-Maid to get it right.
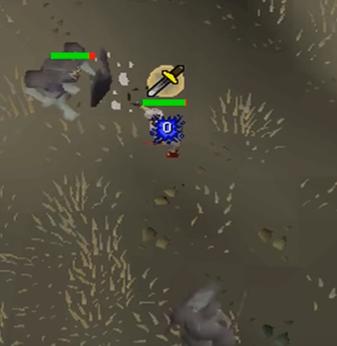
For the Amulet, go back to Meteora, who is more than willing to trade the Amulet to you for a Tiara she lost earlier to a Suqah. Kill a few Suqahs, until one drops it, and then gives it to her in exchange for the Amulet.
For the Torso, Gloves, Legs, and Boots, speak to Rimae Sirsalis in the clothes shop. With the hides you have gathered by killing Suqahs, you can have them tanned for 400 OSRS GP. After that, simply use a Needle & Thread to craft the items.
For the final item, the right, head to the center of the village to speak to Selene. She’ll give you a riddle, after which you need to grab a Spade and go to the bottom of the village. Here you’ll find a bridge to the left. You have to dig in the area where there are Blue Flowers to obtain the Ring.
Finally, take all the items back to the Oneiromancer and get ready to enter the Dream World.
The Dream World

Upon entering the Dream World, go to the middle and speak to either the Ethereal Man or Lady. They’ll ask you to solve 6 Puzzles before taking on the ultimate challenge. Each puzzle can be accessed through the portals. Do remember that you need to speak to one of the two characters every time you complete a puzzle.
Puzzle #1 (Ethereal Fluke)
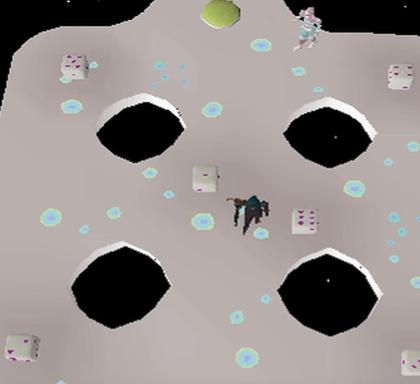
Access the first puzzle by entering the southwest portal. It’s a dice game, with the center one having 1 or 6, the eastern one having 4 or 3, and the western one having 5 or 2 number combinations. The objective is to add up to the numbers given by the Guide. Once done, head outside, speak to one of the Guides, and continue ahead.
Puzzle #2 (Ethereal Numerator)
Access the second puzzle by entering the southeast portal. You’ll have to press on the floating numbers in the correct order. There’ll be numbers missing from the sequence. For instance, numbers 1,4,2,5 would have 3 and 6 MISSING. So, you press on 3 first, and then 6.
Puzzle #3 (Ethereal Perceptive)
Access the third puzzle by entering the northeast portal. It’s a Woodcutting game where you have to beat the Ethereal in chopping down more wood. The first one to deposit 20 Logs in the pile wins.
Puzzle #4 (Ethereal Memory Test)
Access the fourth puzzle by entering the northwest portal. It’s a memory test where you need to hop between platforms to show how sharp you are. Make sure you avoid fake platforms.
Puzzle #5 (Ethereal Hurdle Race)
The fifth puzzle is a test of Agility. It’s quite easy if you have an Agility Potion on you (unless you’re maxed out). Anyways, you need to leap over 4 hurdles to win the game. Simple objective, isn’t it? Make sure you don’t fail because you’ll deal damage from the fall.
Puzzle #6 (Ethereal Mimic)

In the sixth challenge, you simply have to mimic what your opponent does to complete it. The Ethereal will either nod to indicate you are correct or shake its head to indicate that your actions were wrong.
The Boss
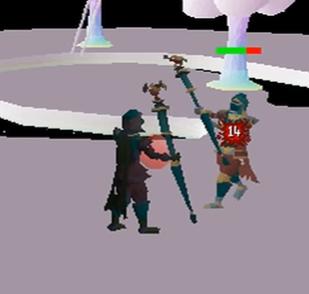
Once you have overcome all the challenges, go back to the center and speak to the guide. He’ll ask if you’re ready for the ultimate challenge, who is a level 79 enemy identical to you and your stats. The battle is pretty easy.
Once defeated, speak to the guide again to leave the Dream World. Finally, speak to the Oneiromancer to complete the quest. Congratulations!